

Image source: Envato
Learning how to use sewing patterns is the moment you move from simple repairs to creating a full wardrobe. A sewing pattern is essentially a roadmap for your project. It gives you the flat pieces you need to lay onto your fabric and the instructions to put them together. We've created this guide to help you understand every marking and instruction so you can start your first project with confidence.
In short
Take the next step in your sewing with an online fashion design course. Learn from leading fashion designers, access hours of HD video tutorials, and join a global student community.
A sewing pattern is a guide used to cut fabric into the correct shapes to create a garment. Most patterns come with two parts. You get the pattern pieces themselves and a set of instructions.
Think of it as a blueprint for a house. Without it, you might end up with sleeves that don't fit or a neckline that's too tight.
You'll generally find patterns in two formats.
Printed Patterns: These come in a physical envelope. The pieces are usually printed on thin tissue paper. It's easy to pin but can be delicate.
PDF Patterns: You buy these online and print them at home. You'll need to tape the pages together to create the full-size template. Many people prefer these because you can print a fresh copy if you make a mistake.
Starting with the right project is the best way to avoid frustration. We recommend looking for easy sewing patterns that use stable fabrics like cotton.
Choose patterns labelled with multiple views to practice variations like a dress with or without sleeves without buying new ones.
Search for zero-waste beginner sewing patterns. These reduce fabric scraps and teach efficient layouts from the start. This reduces overwhelm on your first try.
Beginner: These have no zips or buttons. They usually involve straight lines and simple shapes like tote bags or elasticated skirts.
Confident Beginner: You might see a buttonhole or a basic zip. You'll learn how to gather fabric or insert a sleeve.
Intermediate: These involve more tailored fits and complex finishes like collars and cuffs.
You can start your sewing journey without spending any money on your first template. Download these beginner-friendly free sewing patterns from trusted designers.

Images sourced from the websites of Helen’s Closet, SewCanShe, and Peppermint Magazine.
Helen’s Closet: You can find the Orchard Top, Costa Tote, and Sam Apron on their website. These include multiple sizes and video sewalongs for pattern sewers.
SewCanShe: This site offers over 25 projects like drawstring bags and coasters. These are scrap-friendly and come with printable templates.
Peppermint Magazine: The site offers a range of free, beginner-friendly sewing patterns. Many designs include comfortable features like elastic waistbands and inclusive sizing.

Image source: Envato & Pinterest
Before you even open the package, the envelope tells you everything you need to know.
The Line Drawings: These are often called flats. They show the garment without any distracting prints or models. This helps you see the seams and closures clearly.
Body Measurement Chart: Never choose a size based on what you buy in a shop. High street sizing is different from pattern sizing. Use your actual bust, waist, and hip measurements.
Yardage Chart: This tells you how much fabric to buy. Check the fabric suggestions list closely. Many beginners overlook stretch or directional prints which can distort fit. If the chart shows less fabric for wider widths like 150cm, buy that to save money. Always add 10 or 20cm extra for mistakes.
Notions: This is a list of the extras you need. It includes thread, zips, buttons, or elastic.

Image source: Envato
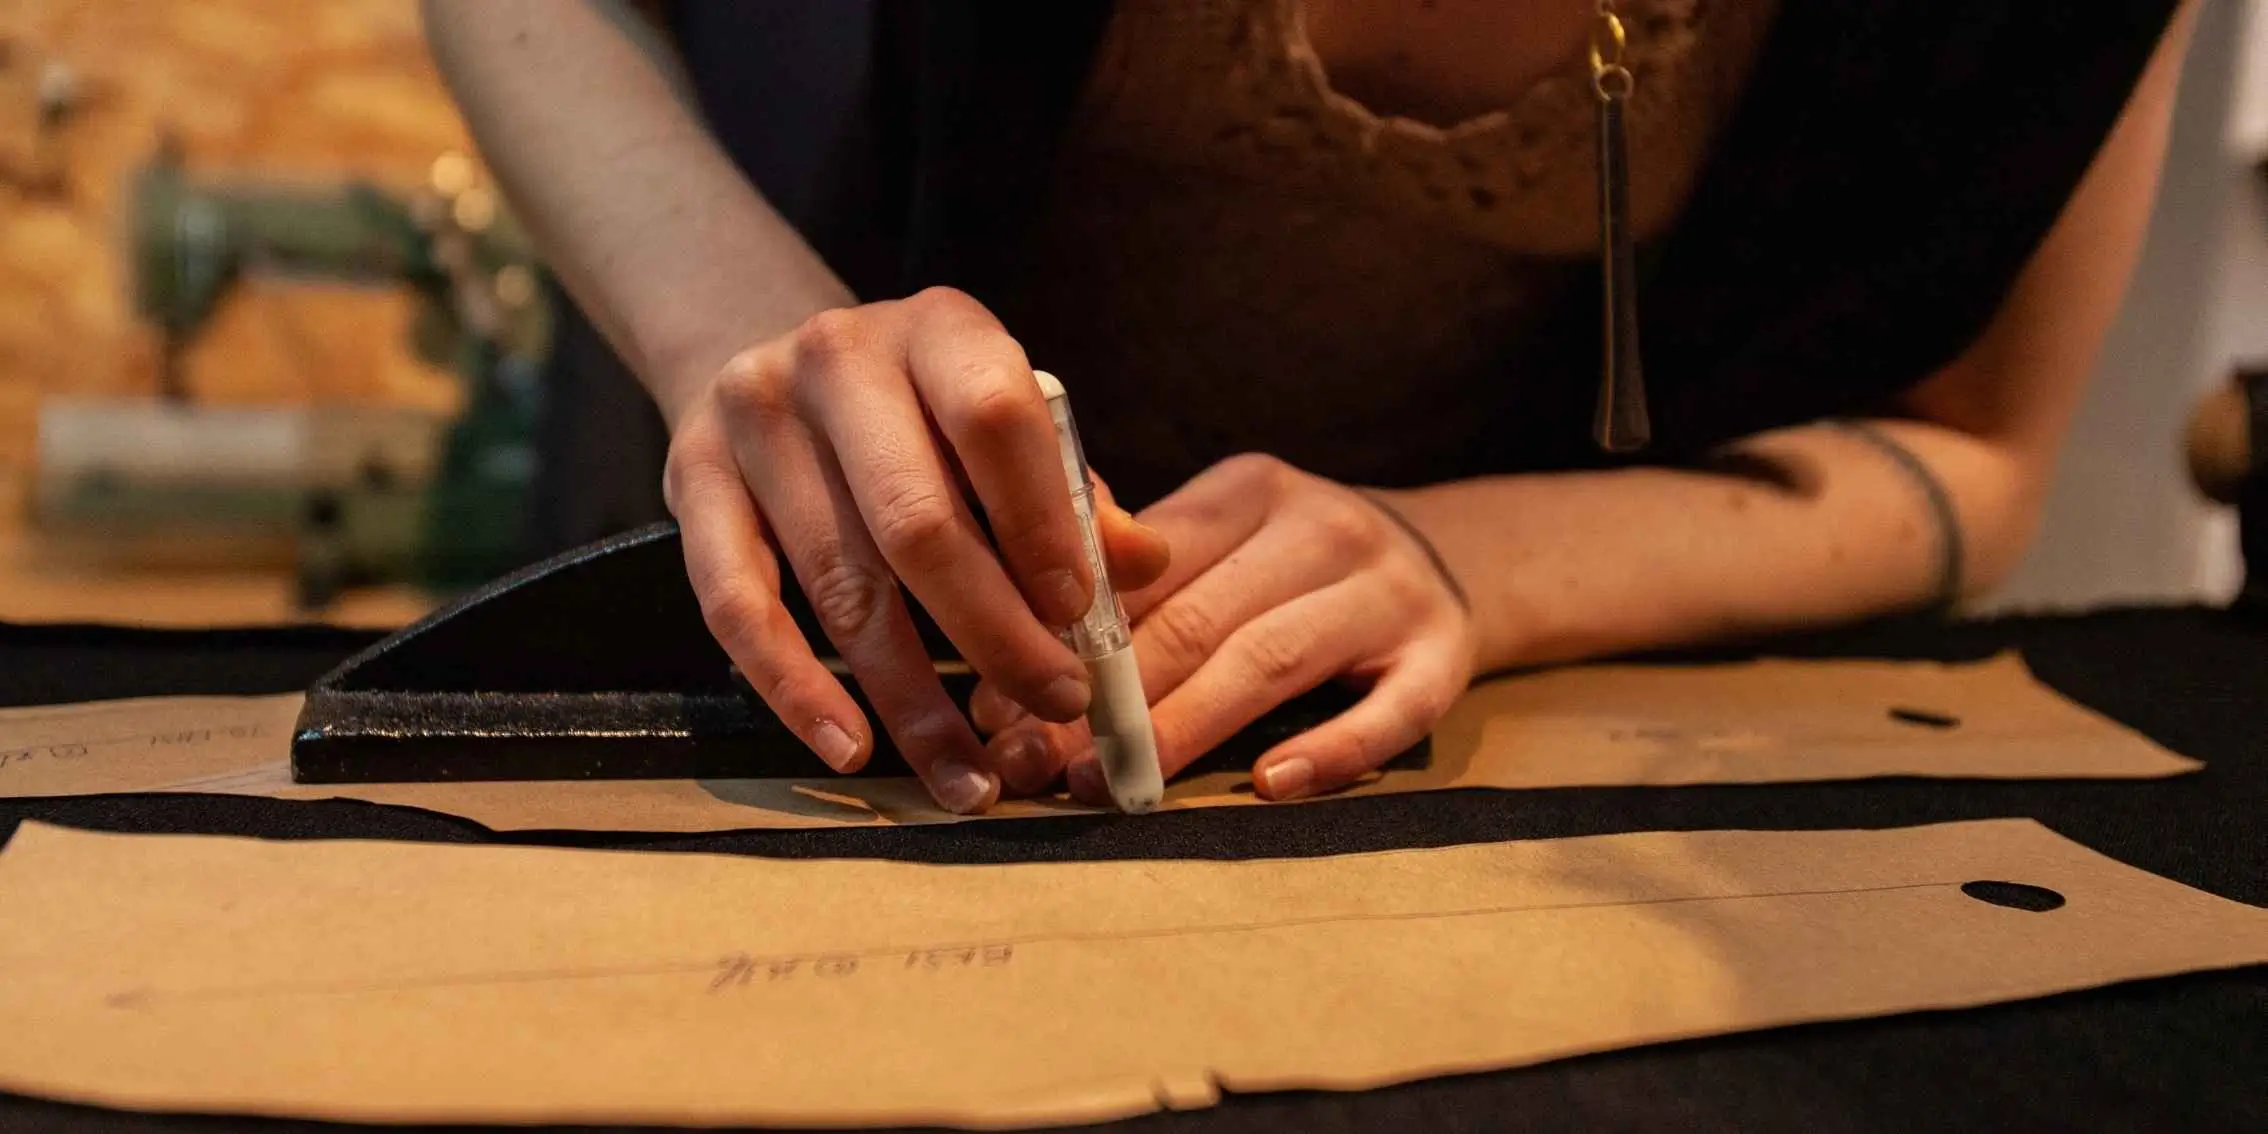
Always wash and dry your fabric before you start. Most fabrics shrink slightly during the first wash. Beyond washing, press fabric flat with a dry iron on low to reveal the true grain before cutting. Wrinkles often hide warping. For cottons common in variable weather, soak them in salt water first to set dyes and prevent bleeding during later washes.
If you're using a paper sewing pattern, you can either cut the tissue paper directly or trace your size onto separate paper. When tracing, use different coloured pencils for each size and label lines clearly. This makes it easier to reuse the pattern for friends or future tweaks. Align pattern pieces to the fabric selvedge first and then slide them to the layout. This ensures grainline accuracy without constant rechecking.
Most sewing patterns for beginners include a seam allowance. Test your machine's seam width on scraps matching your pattern's allowance to confirm it before sewing with patterns. If a pattern has no allowance, stick thin washi tape along the pattern edge before cutting for precision, as machine placement varies. It peels off cleanly without marking the fabric.
Follow the cutting layout provided in the instructions. For nap fabrics like flannel, run your hand across to feel the direction. Orient all pieces the same way for even wear.
The Grainline: This is a long arrow on your pattern piece. It must be perfectly parallel to the finished edge of your fabric.
Place on Fold: Some pieces are only half a bodice or back. You place the marked edge exactly on the fold of the fabric to get one large symmetrical piece. Number pieces on the layout diagram with chalk as you cut to avoid mix-ups later.
Notches: These are little triangles on the edge of the sewing pattern. Clip them 6mm deep into the seam allowance before unpinned sewing to prevent puckering.
Darts: These look like V-shapes or diamonds. Use tailor's tacks (thread loops through pattern and fabric) to transfer dots perfectly without ink bleed.
Dots and Squares: These usually mark where a pocket starts or where you should stop sewing.
| Term | What it means |
|---|---|
| Selvedge | The finished edge of the fabric that doesn't fray. |
| Ease | The extra space in a garment that allows you to move. |
| Baste | A long temporary stitch used to hold pieces together. |
| Right Side | The "pretty" side of the fabric that shows on the outside. |

Image source: Envato
Our Sewing Technology module moves beyond simple templates to help you understand the full apparel manufacturing process.
Explore our fashion design course and download your free course guide to learn more.
©2026 The Fashion Design Institute. All rights reserved.

